About SPF Record
An SPF record is a type of Domain Name Service (DNS) record that identifies which mail servers are permitted to send an email on behalf of your domain. It is easy to add as MX or A records in your DNS zone.
Why It Is Important?
Today, nearly all abusive e-mail messages carry fake sender addresses. Spammers send email from their mail servers but with your ‘domain’ as the sending email. The victims whose addresses are being abused often suffer from the consequences, because their reputation gets diminished and they have to disclaim liability for the abuse or waste their time sorting out misdirected bounce messages.
The purpose of an SPF record is to prevent spammers from sending messages with forged ‘From Addresses’ at your domain. Recipients can refer to the SPF record to determine whether a message purporting to be from your domain comes from an authorized mail server.
Setting SPF Record for G Suite
If you use G Suite, you can check the state of your SPF configuration using Google Toolbox. How you set up DNS records will depend on your web hosting service, so you may have to contact your web host to get details about that. (Google has some general guidelines here.) If you are using CPanel, you can implement the following steps.
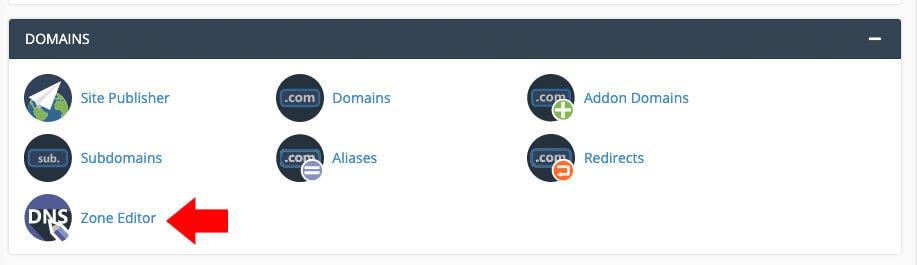
Login to your CPanel account and under DOMAINS click on “Zone Editor” option.
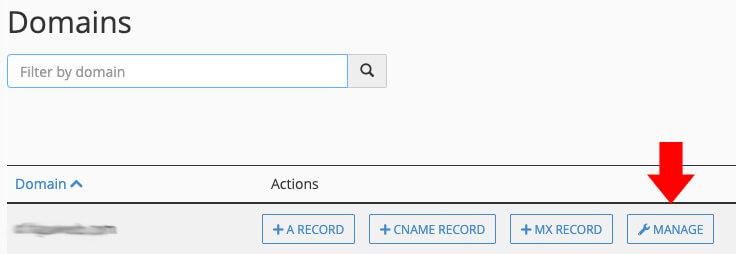
Next click on “MANAGE”
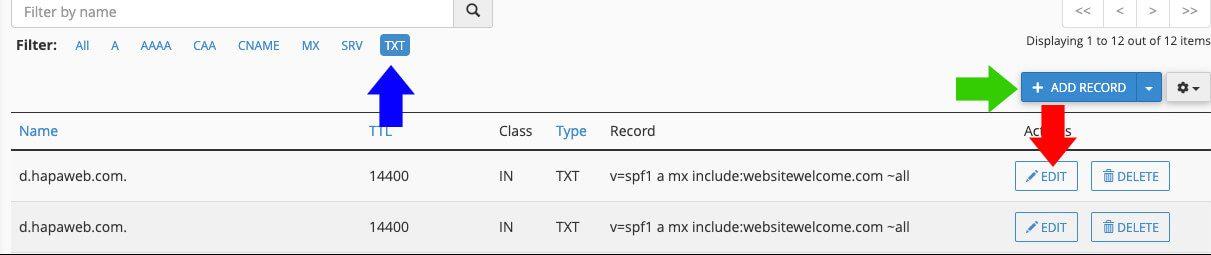
Next click on TXT (blue arrow). In the resulting page, check if you have any existing SPF records. If you do, delete them (red arrow). Then click on the ADD RECORD button (green arrow) and select TXT
You’ll then see a small form like this:

In the “Name” field, paste your domain name, followed by a dot. E.g.mysite.com..
In the “TTL” (meaning “time to live”) field, you can basically type any number, but a common one to use is “14400”. (This just tells computers around the world how long—that is, how many seconds—to store this information before checking that it is still current.)
From the drop-down list, ensure it is “TXT”.
Into the “Address” field, paste v=spf1 include:_spf.google.com ~all
Now click the “Add Record” button, and you’re done! You have now added an SPF record for your domain. Use Google Toolbox to confirm the SPF setup.
OTHER SECURITY MEASURES
Apart from DKIM, it is important that you also set up DKIMand DMARC. This post shows how to add a DKIM record and this details how to add a DMARC record.